Vanessa Petros
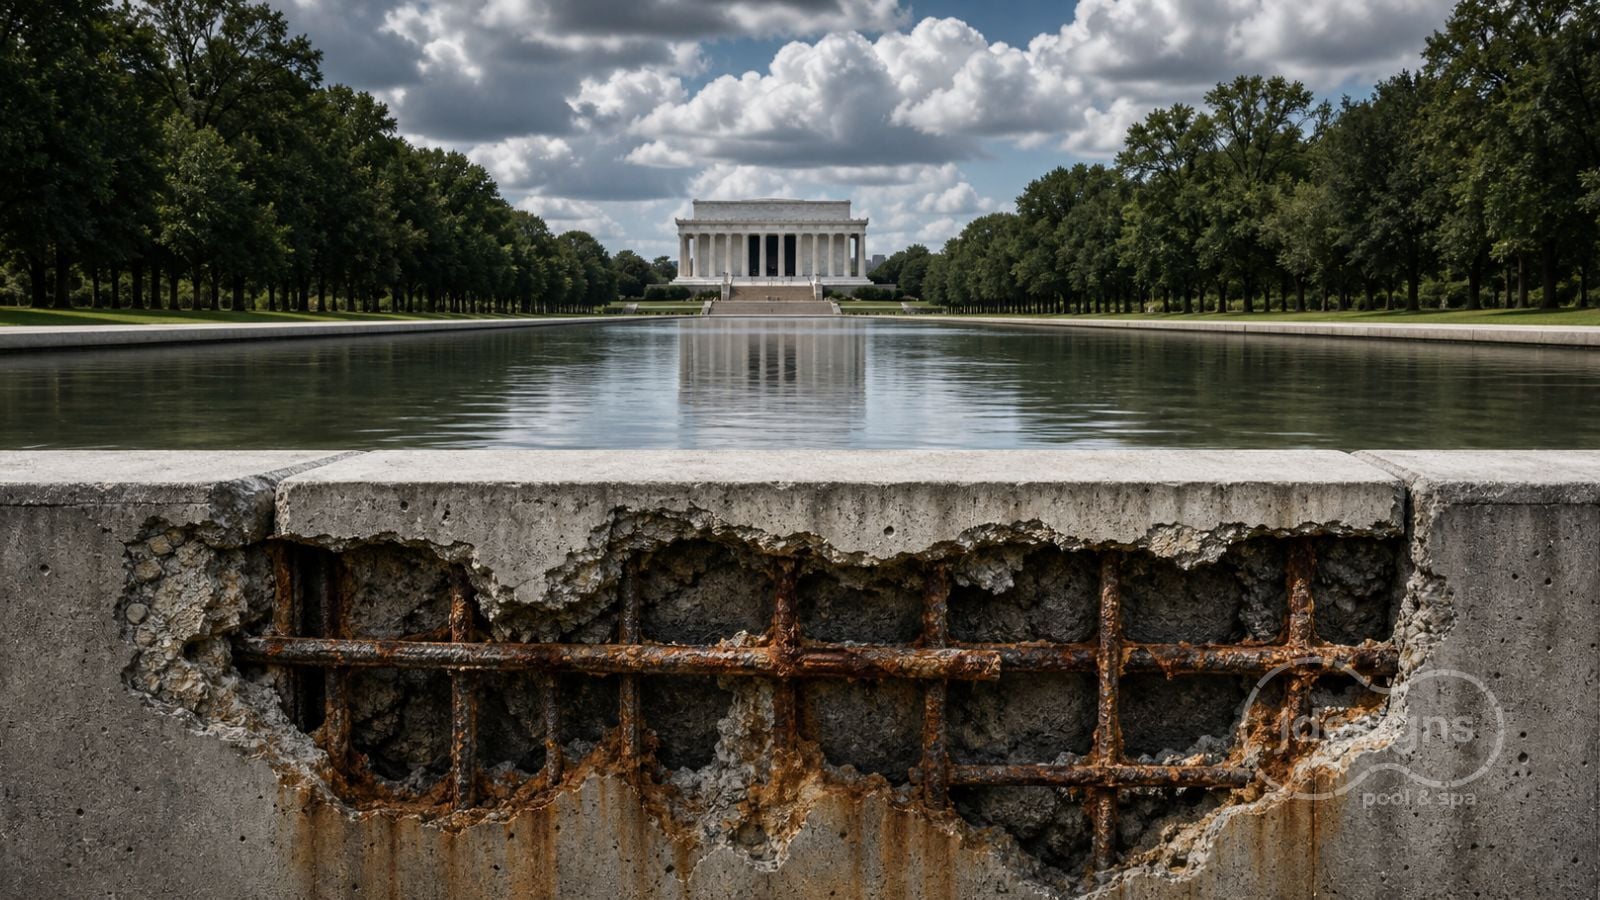
What Went Wrong at the Lincoln Memorial Reflecting Pool
A More Accurate Chain of Events and What It Means Moving Forward The Lincoln Memorial Reflecting Pool is not only one of the most recognizable water...
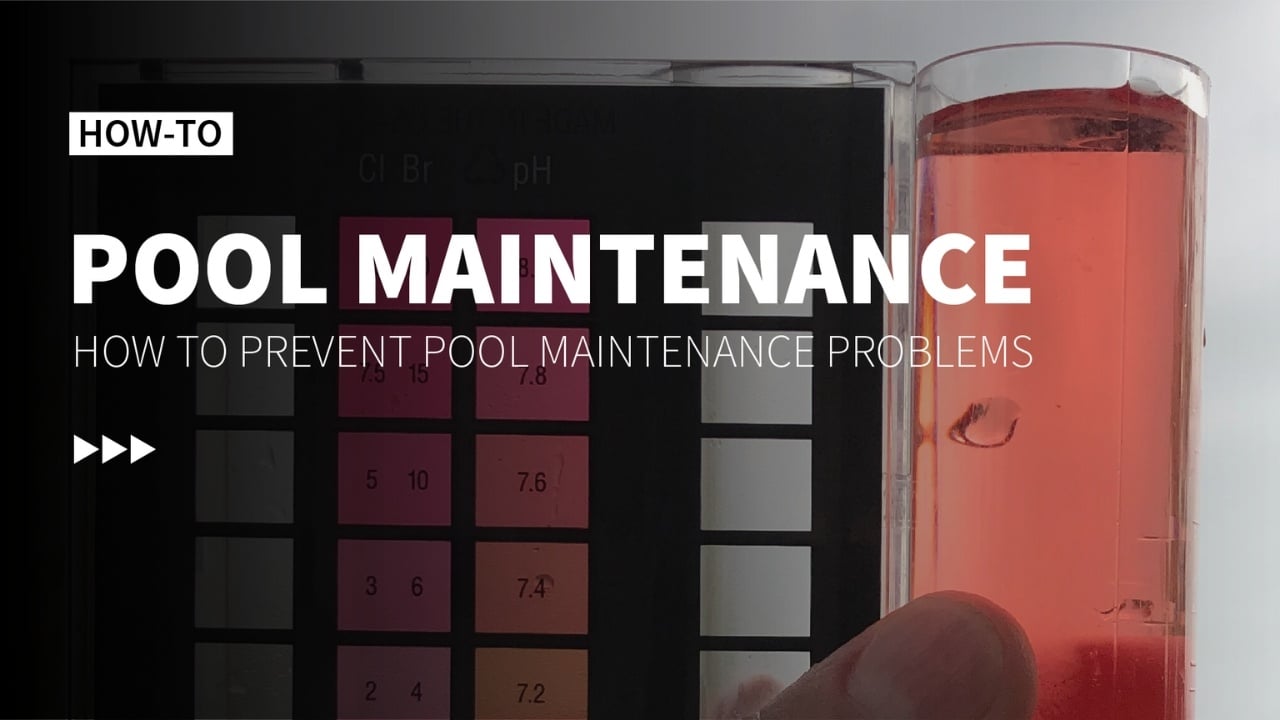
Are you getting ready to resurface your pool? Perhaps you’re over the lackluster traditional white plaster and ready for something more luxurious and durable.
That’s when you come across PebbleTec and stare wide-eyed at all the Earthy stone finishes and dazzling elegance. You think, “This surfacing is lovely, but is the installation process going to be complicated?” After all, the last thing you want is to sign up for a pool surfacing that will extend your construction timeline.
J Designs Pool and Spa is a PebbleTec Certified Builder. With over 15 years of experience installing various pool finishes, we have first-hand knowledge of the installation process and all its nuances. From the prep to the pressure wash and detail, PebbleTec’s installation is streamlined into 6 steps to ensure a timely, meticulously refined finish for your pool.
This article will illustrate the step-by-step process of installing a PebbleTec pool finish while detailing the various selections you can choose from. When you’re done reading this article, you will have a big-picture overview of the time and steps involved in opting for a PebbleTec Pool Finish.
Pebbletec boasts a 2-day installation protocol, a feat that is both labor-intensive and convenient for your respective construction timeline.
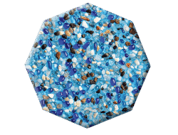
Aside from the traditional PebbleTec finish, PebbleTec offers additional finish options to further enhance the beauty and atmosphere of your pool, patio, and spa. These enhancements tote an intentional and regal design steeped in tranquility, the sensations of nature, and connectedness.

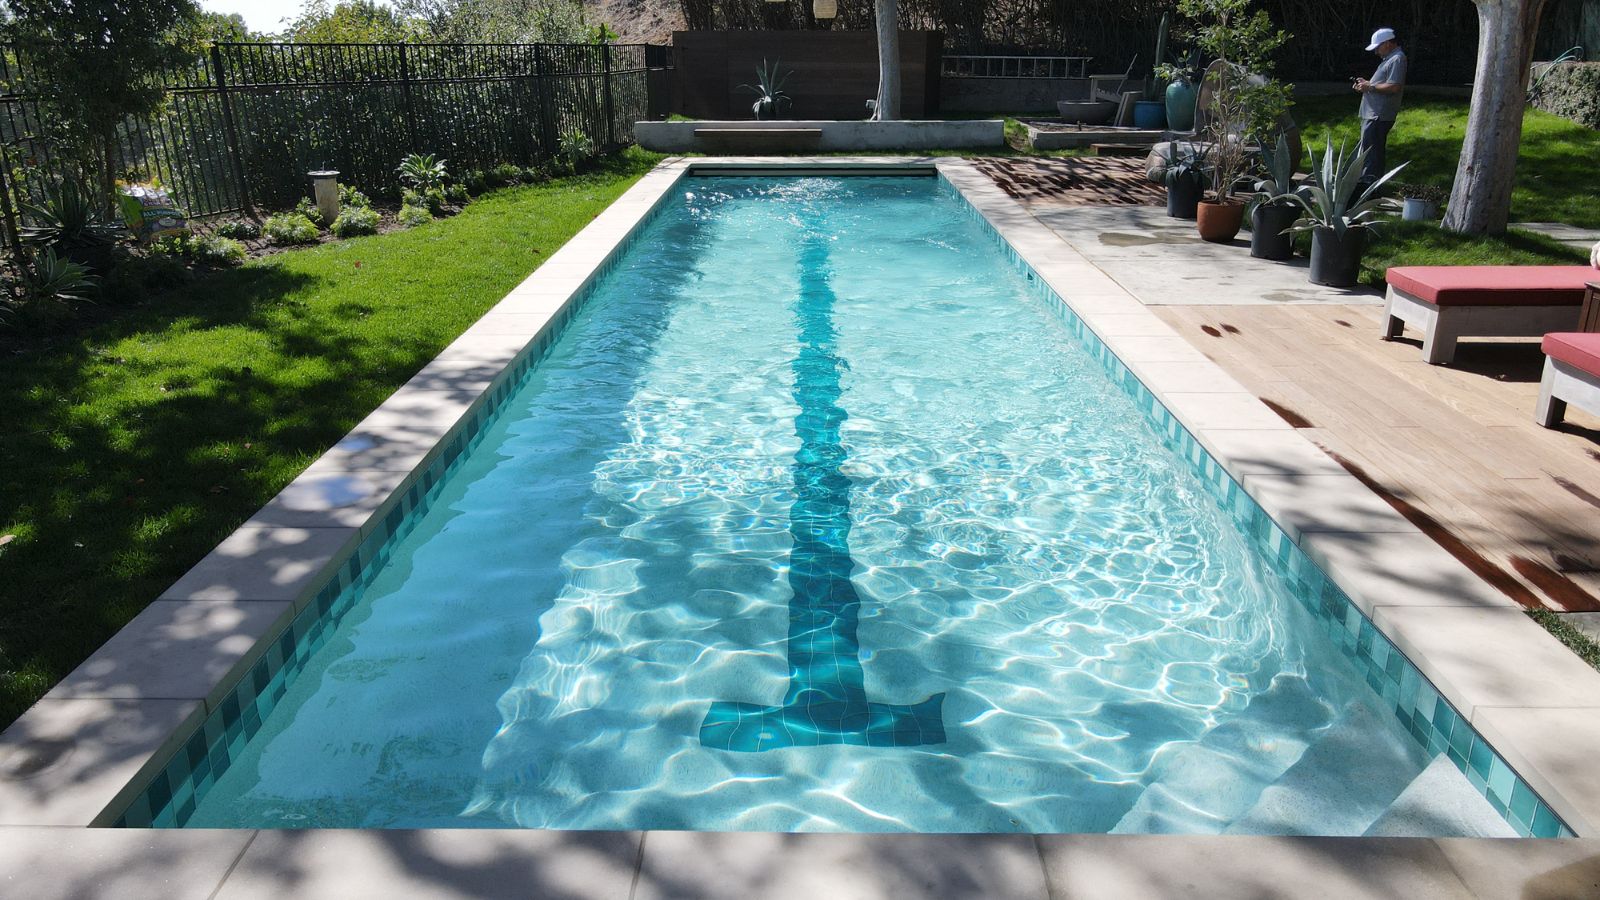
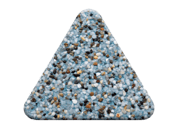
PebbleTec - The original natural textured finish that provides a secure and durable surface.
PebbleSheen - A textured finish using a blend of slightly smaller pebbles for a more refined texture, while still retaining the natural beauty and inherent qualities of a traditional PebbleTec pool finish.
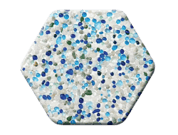
PebbleBrilliance - An elegant infused finish using a blend of vibrant glass beads and natural stone aggregate, a combination that imparts stunning beauty.
 PebbleEssence - A radiant textured finish that boasts an opulent PebbleSheen finish, enhanced with smooth glass beads for extra watercolor radiance.
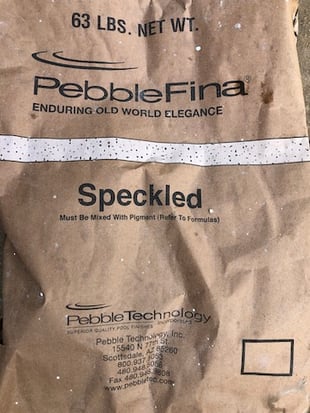
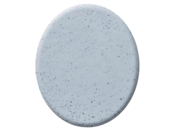 PebbleFina - An enduring smooth finish made from PebbleTec’s smallest natural pebbles to deliver a smooth and durable finish.
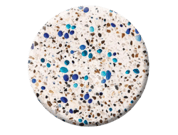
PebbleBreeze - A luxurious polished finish that uses vibrant glass beads to combine the beauty and durability of the traditional pebble finishes with an exceptionally smooth polished surface.
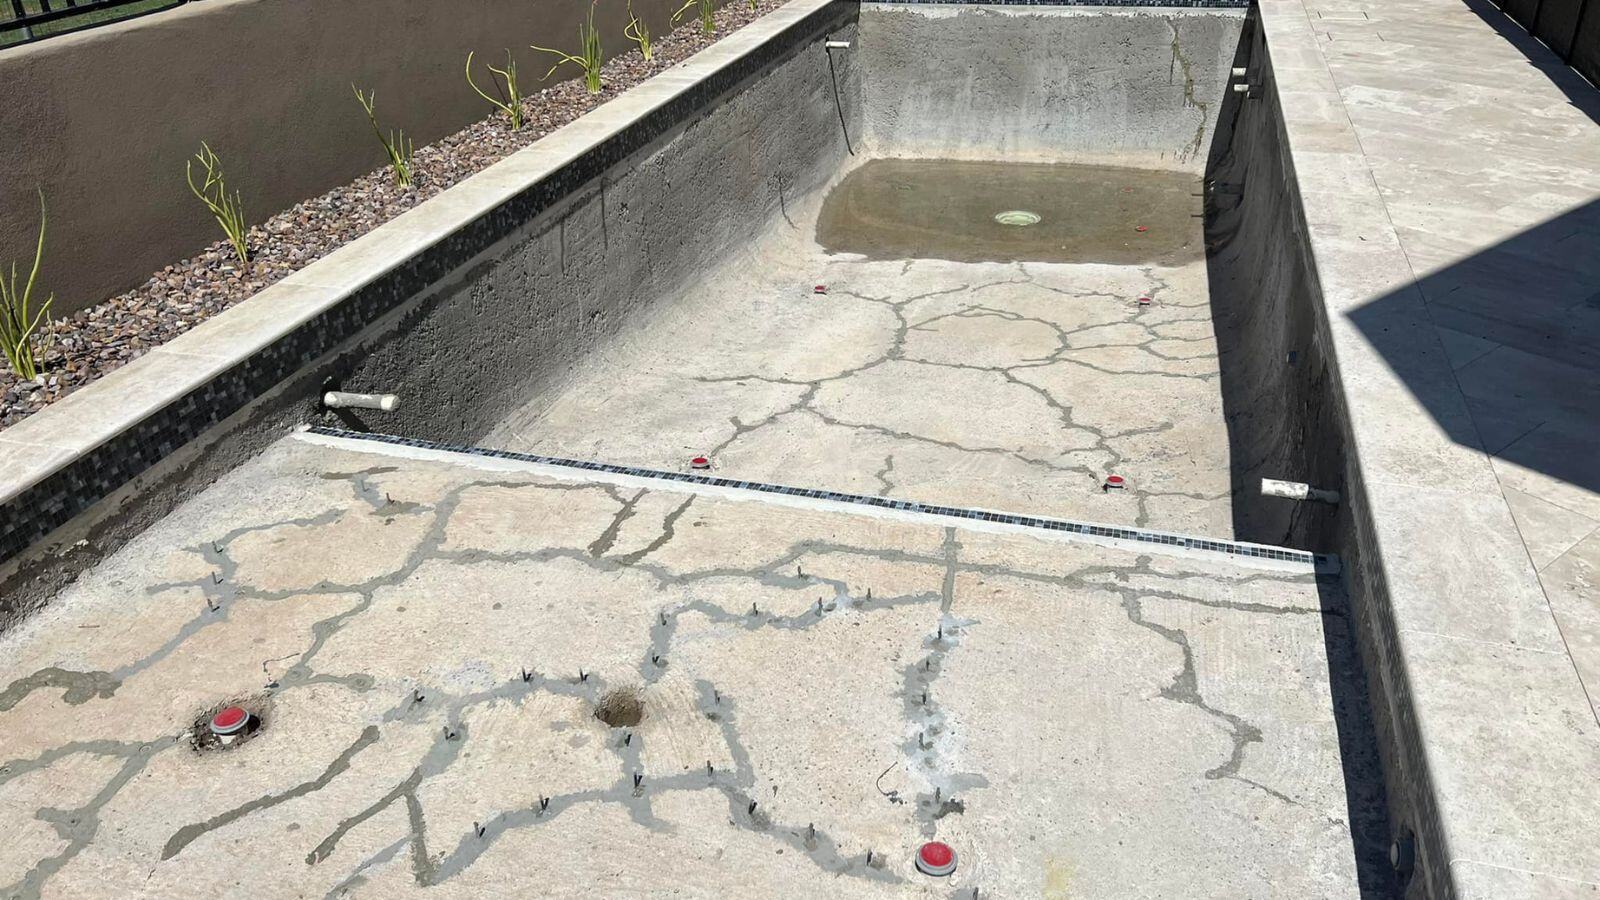
PebbleTec can only be installed by a certified builder; this pool surfacing is not a DIY option. Regardless of the PebbleTec finish you choose, each finish installation requires the following six steps.
Preparation is key, especially when ensuring your pool is set up properly for PebbleTec resurfacing.
When the pool is primed and ready, the mixture is combined. Depending on the finish, PebbleTec uses specialized formulas to blend and apply the mixture on-site.
This unique stone blend, which is consistent with the manufacturer, is based on set ratios of aggregates, pigment, cement, and water. Each finish has a specialized formula, and this proprietary information is exclusive to certified PebbleTec builders who will be applying the mixture.
Once the batch has been mixed, it will be applied evenly to your pool through a specialty hose.
This blended mixture is then ready to be sprayed evenly on your pool’s surface through a pneumatic spray applicator.
This pneumatically applied sprayer ensures the surfacing material is shot out in even, consistent coverage. Promptly after the spraying, your PebbleTec applicator will trowel the material by hand to secure the surfacing.
Following the spraying, the surfacing is then exposed.
Depending on the finish you choose, the exposure will include the most effective techniques to even the finish's color, surface, and material.
During exposure, the surfacing is sprayed or wiped with a light mist to expose the pebbles and remove any excess cement. The first day of exposure is more delicate since the cement is still fresh, but the more intense exposure happens on the second day. In this process, the pebbles or glass beads are exposed until their aesthetics match the pigment and hue desired.
Once the surfacing is exposed, it needs time to set and harden.
The hardening period varies based on the finish you select, and weather conditions may also impact the time.
Surfacing takes 6-12 hours to dry, but extreme weather conditions may extend this time. For example, if it is very cold, the extra moisture in the air will slow down the rate of the drying process. Similarly, humidity in very hot temperatures will also slow the surfacing’s drying process.
Once the surface is set and hardened, the pressure wash and detail is the final step before filling the pool.
At long last, it’s time for the pressure wash and detailing.
The pressure wash uses a special acidic solution to remove any excess residue or film. Depending on the finish, the surfacing is lightly buffed to further polish the stones and enhance the brilliance and beauty of the finish.
Now that you know the ins and outs of the PebbleTec installation process, you can move forward with the confidence that the surfacing will keep your construction plans going smoothly.
It’s important to reiterate that the finish can only be installed by a PebbleTec-certified pool builder. This required protocol and training lends itself to providing robust installation workmanship, and an installation warranty embedded in the creation if you will.
J Designs Pool and Spa is a PebbleTec-Certified Builder, and as such, we have expert installers primed to install any PebbleTec pool finish you choose. In other words, we’ve got the six-step installation down pat.
If you’re ready to learn more about PebbleTec’s installation process, we are here to help.
The first step to designing your brilliant outdoor escape is to contact us and schedule a consultation!
Still want to learn more about different concrete pool finishes before speaking with a pool professional? You can never have too much knowledge! Check out these related articles for more information:
WHAT TYPE OF PLASTER IS RIGHT FOR YOUR POOL: PROS, CONS, AND COMPARISONS
7 COMMON MYTHS ABOUT POOL PLASTER: AND THE TRUTHS YOU NEED TO KNOW
A More Accurate Chain of Events and What It Means Moving Forward The Lincoln Memorial Reflecting Pool is not only one of the most recognizable water...
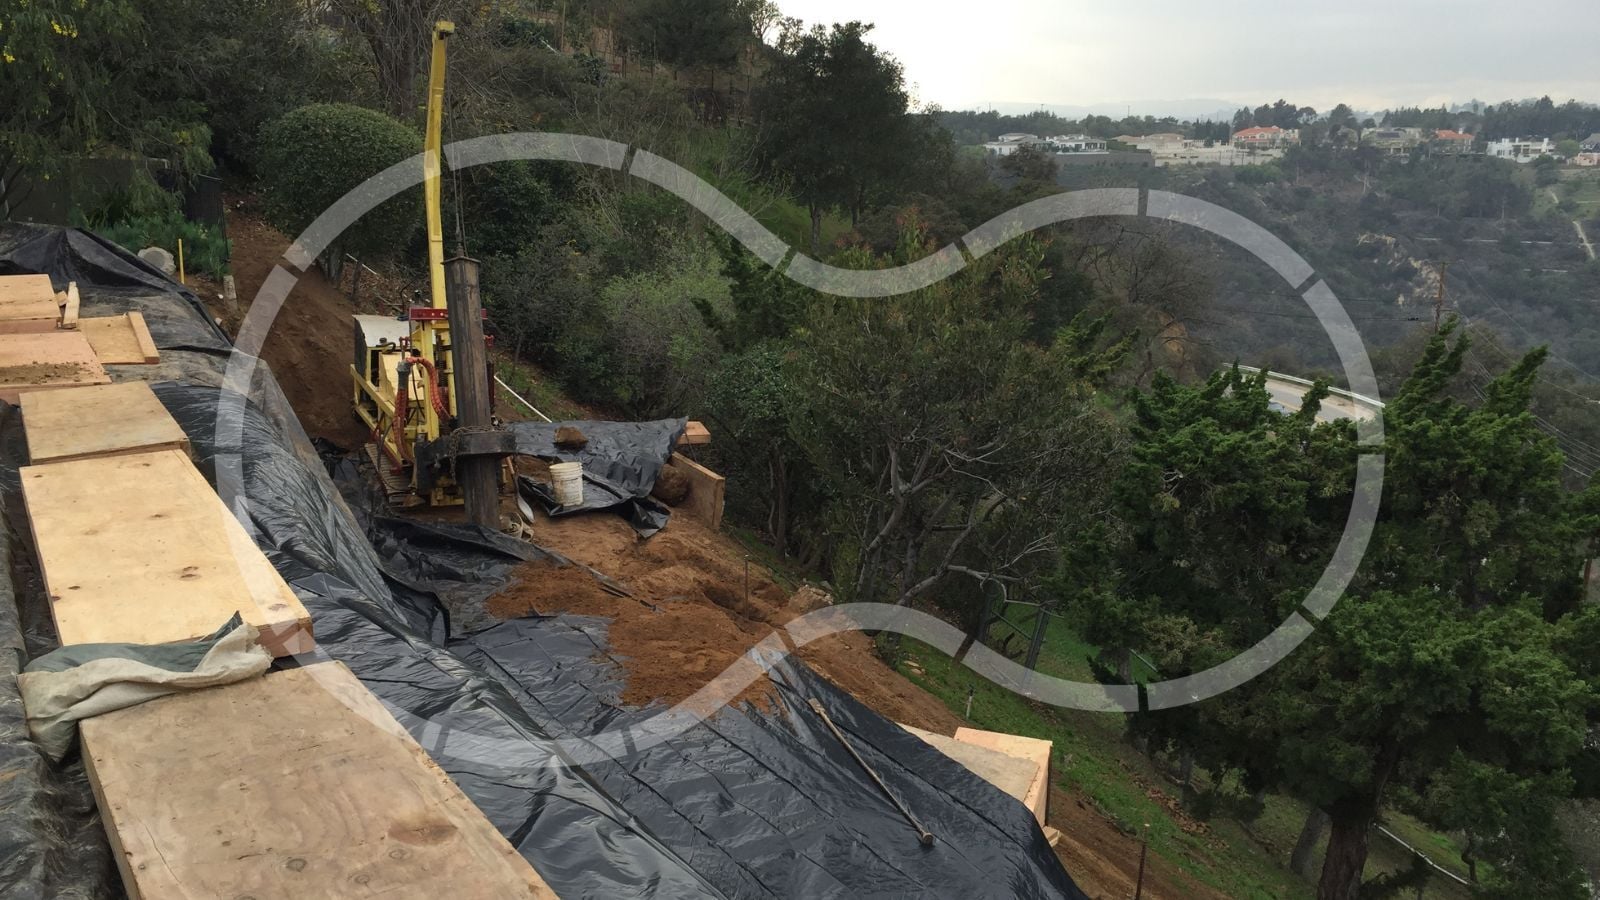
What happens when a pool project that seemed well planned suddenly stops because a caisson shaft becomes unstable 30 feet below grade?
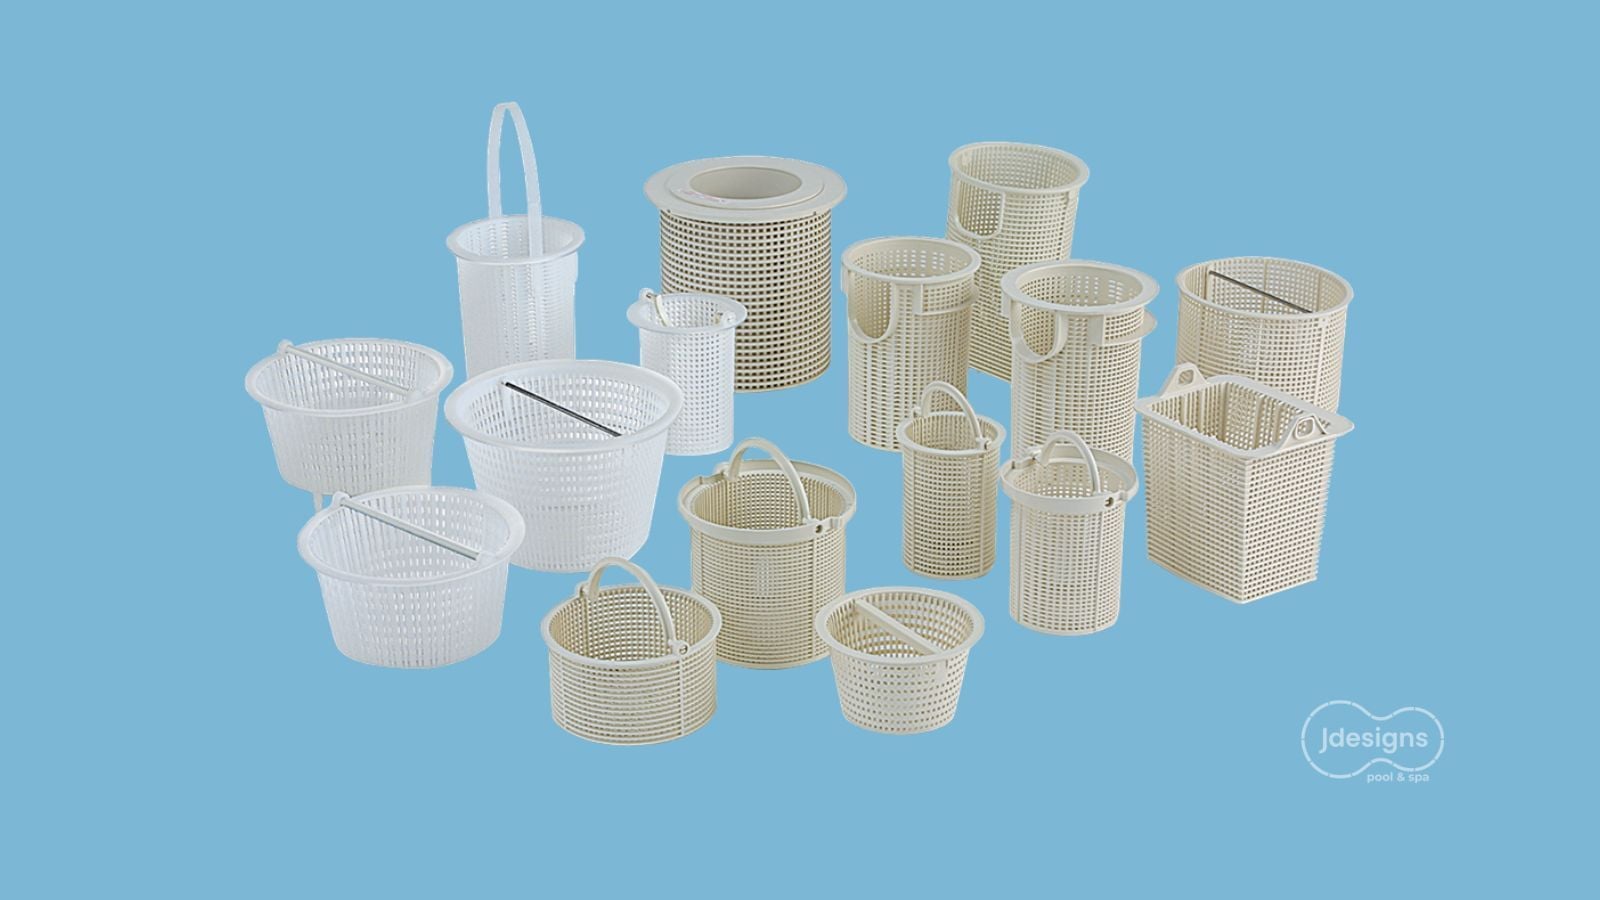
Why the Pump Basket Matters More Than Most Homeowners Realize From early industrial strainers to modern hydraulic protection systems, the pump ...
1 min read
Is Large Format Tile Right for Your Pool Project? What Every Homeowner Should Know Thinking about building or transforming your pool with...
1 min read
In this article, we will explore the root cause of the most common pool (structural) cracks. These visible cracks in swimming pools have become an...